
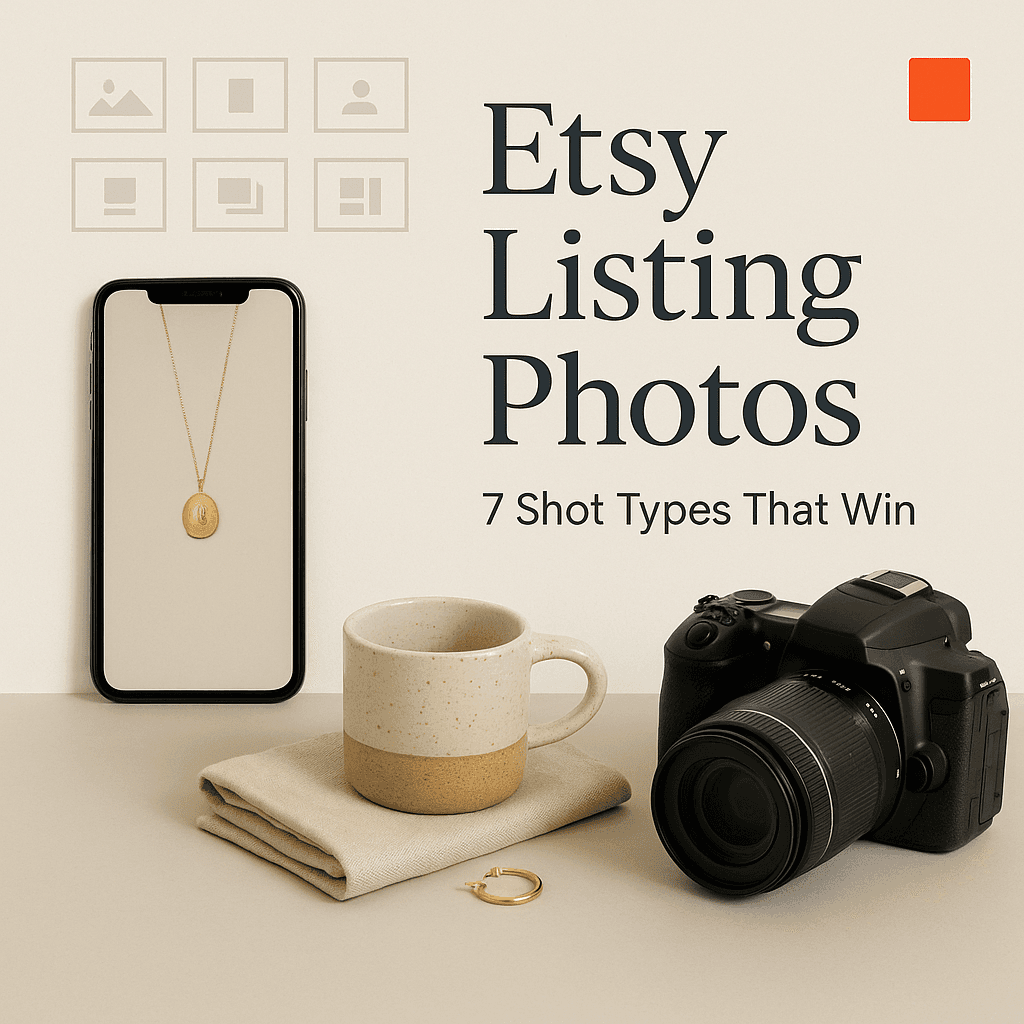
Etsy is a photo marketplace pretending to be a handmade marketplace. That sounds harsh, but… you know it’s kind of true.
People scroll fast. They click slow. And most of the time, they are not reading your title or your tags first. They are judging your product based on a tiny rectangle of pixels and vibes.
So if you’re doing print on demand on Etsy, your photos are the product. Your design matters, obviously. But the way you show it matters more than most sellers want to admit.
This post is the practical checklist I wish someone handed me early on. The 7 shot types that consistently convert, plus what each one is actually doing for you.
And yeah, you can take these with a phone. You can also use mockups. You can mix both. The point is structure. A winning photo set is not random.
Before we get into the 7 shots… here’s what Etsy is rewarding
Not officially. Etsy does not come out and say, “Congrats, you used a scale photo, here’s 20% more sales.”
But the algorithm follows behavior, and behavior follows clarity.
Your photos need to answer these questions fast:
- What is it?
- What does it look like in real life?
- How big is it?
- What does it feel like?
- What am I actually getting in the package?
- Why should I trust this seller?
Each shot type below answers one of those questions. That’s the game.
Also, Etsy gives you up to 10 photo slots. Use them. (You don’t have to use all 10, but if you only use 2, you’re making your buyer do mental work. They’ll just… leave.)
Image size + quick standards (so you don’t accidentally sabotage yourself)
Just to keep you out of trouble:
- Use crisp, bright images. Not washed out. Not dim.
- Avoid tiny subjects with lots of empty space. Your product should fill the frame.
- Keep consistency: same lighting and vibe across the set if you can.
- Export high quality (Etsy will compress anyway).
- Square-ish crops work best since Etsy shows thumbnails in a grid.
If you’re using mockups, please pick ones that look like Etsy. Not like a corporate apparel catalog from 2009.
1. The Thumb-Stopper Hero Shot (your first image)
This is the make-or-break photo. Your listing lives or dies here.
Your hero shot should be:
- simple
- high contrast
- instantly readable
- clearly showing the design
- framed tight enough that it pops on mobile
If it’s a shirt, show the full chest design clearly. If it’s a mug, show the design straight on. If it’s a poster, show it flat or framed, straight, no weird angle.
You’re not trying to be artsy. You’re trying to be obvious.
Common mistakes I see:
- A lifestyle shot where the design is tiny, wrinkled, half hidden by hair.
- A mockup with shadows so heavy the design looks faded.
- A “cool” angle that makes the product hard to understand.
Simple rule: if the buyer can’t tell what it is in 1 second, redo it.
2. The Angle or Alternate View (prove it’s real)
Your second image’s job is trust.
People want to confirm: okay, it’s not some weird render. It’s not hiding flaws. It’s not one of those listings where the print placement is mysteriously off-center in real life.
So give them a second view.
For POD apparel:
- front view as hero
- second shot: slight angle, or close to straight but different model or different color
For mugs:
- show the handle side
- show wrap placement if it’s wrap-around art
For posters:
- show it in a room at an angle, or show texture/paper edge if you can
Even if you only use mockups, using a second mockup angle helps buyers feel like they’re seeing something tangible.
3. The Scale Shot (answer “how big is it?”)
This one is boring. And it sells.
People are terrible at imagining size. They just are. And Etsy returns happen when expectations don’t match reality.
So show scale.
Examples:
- shirt shown full length (not cropped at the chest)
- mug in someone’s hand or next to a spoon
- poster next to a couch
- tote bag on a shoulder (strap length matters)
If you sell multiple sizes, try to show at least one scale photo that makes sense for the most common size people pick.
Tiny trick: add a simple graphic overlay in one image: “Shown: Unisex L” or “Frame size: 16×20”. Keep it clean and readable.
4. The Detail Close-Up (texture, print quality, material)
If your buyer is leaning toward “yes,” this is the photo that reduces their last bit of fear.
POD buyers worry about:
- cheap fabric
- cracking ink
- blurry print
- thin paper
- pixelation
So zoom in.
For shirts:
- close-up of the print area
- fabric texture visible, stitching visible
- show that the design edges are clean
For posters:
- close-up of paper texture or a corner in a frame
- show sharpness of the print
For mugs:
- close-up of the print surface (and ideally, color accuracy)
If you’re using mockups only, choose mockups that include at least one close-up view. Some mockup packs have this. Use them.
5. The Lifestyle “Belonging” Shot (the buyer sees themselves)
This is the fun one. And it’s still strategic.
Lifestyle shots are not just decoration. They answer:
- Who is this for?
- Where will it be used?
- What kind of person buys this?
So you want lifestyle that matches the niche.
Examples:
- A funny mom shirt shown on a mom in a casual kitchen scene
- A gym quote shirt shown in a locker room vibe
- A cozy fall mug shown near a blanket and book
- Wall art shown in the right room style (modern, farmhouse, maximalist, etc)
The key is not to overdo it. If the scene becomes more interesting than the product, you lose.
Also, avoid super generic lifestyle. The bland white desk with a plant is… fine. But it’s everywhere.
Incorporating some elements from candid family photos could also enhance your lifestyle shots by adding a layer of authenticity and relatability.
6. The Personalization or Options Shot (colors, sizes, variations)
If you offer choices, show them clearly.
Do not rely on Etsy dropdowns alone. People miss them. Or they don’t trust them. Or they don’t want to click around.
So include a photo that lays out:
- available colors (small swatches, labeled)
- size chart (clean, readable, not tiny)
- style options (crewneck vs hoodie, etc)
- finish options for prints (matte vs gloss), if relevant
This is where a lot of POD listings quietly bleed conversions. The buyer likes the design, but they’re unsure about sizing. They bounce.
Important: If you include a size chart, make it big enough on mobile. Test it on your phone. If you need to squint, it’s useless.
7. The “What You Get” and Shipping Confidence Shot (reduce anxiety)
This one is underrated. Especially on Etsy, where buyers are cautious and have been burned before.
Use a shot (or simple graphic) that shows:
- packaging style (poly mailer, tube, box)
- what’s included (shirt only, frame not included, etc)
- shipping origin (US-only, if that’s your setup)
- processing times in simple terms
For POD specifically, you don’t always control the packaging visuals. Totally fair. But even a simple icon-based graphic helps.
Example text overlay:
- “Printed and shipped in the USA”
- “Frame not included”
- “Gift ready packaging not available” (if not)
- “Ships in 2 to 5 business days” (only if accurate)
This builds trust. It also reduces angry messages later.
If you want a plug-and-play sequence, here’s one that works for most POD products:
- Hero (clean, readable)
- Alternate angle (trust)
- Lifestyle (belonging)
- Scale (size reference)
- Detail close-up (quality)
- Color options (variants)
- Size chart (or sizing info)
- Another lifestyle (different persona or room)
- Packaging or “what you get”
- A final reassurance graphic (care instructions, gift note, shipping promise)
You do not have to use all 10. But if you can hit all 7 shot types somewhere in your set, you’re doing better than most Etsy shops.
Mockups are fine, but pick Etsy-style mockups
Some mockups scream “stock image.” Buyers don’t say it out loud, they just feel it.
Look for:
- natural lighting
- real wrinkles
- realistic shadows
- models that fit your niche
- backgrounds that don’t distract
Don’t let your design get warped or shrunk
Some apparel mockups distort the print area. Watch the chest placement and print size, especially on hoodies and sweatshirts.
Consistency helps more than perfection
A cohesive photo set converts. A random mix of 3 different mockup styles, 2 different color temperatures, and one blurry iPhone photo is… chaos.
Not always fatal. But it’s rarely optimal.
If you’re building a lot of listings, the photo part gets exhausting. Not even the creative part. It’s the repetitive part.
Different sizes. Different colors. Mockups. Uploads. Re-uploads. Then you still need titles, tags, descriptions. And you’re trying not to accidentally step on a trademark.
This is basically why NinjaSell exists.
NinjaSell helps POD Etsy sellers go from design upload to Etsy-ready draft listings faster, including Etsy-style mockups and optimized listing SEO based on trend and bestseller data. It also includes USPTO-based trademark checks, and automation like refreshing underperforming listings with updated keywords.
If you want to try it, start here: ninjasell.com
No big pitch. Just… if your bottleneck is “I can design but I cannot push 30 clean listings a week without losing my mind,” then yeah, it’s worth a look.
- Too much text on images. One line is fine. A paragraph is not.
- Busy backgrounds. Your product should be the main character.
- Tiny size charts. If it’s unreadable on a phone, it’s decoration.
- Inconsistent colors. If one photo looks warm and the next looks blue, it creates doubt.
- Misleading mockups. If the mockup shows an oversized print and the real item won’t, that’s a refund waiting to happen.
Winning Etsy photos aren’t about having a fancy camera. They’re about giving the buyer what they need, in order, with zero friction.
Use the 7 shot types like a checklist:
- Hero
- Alternate angle
- Scale
- Close-up detail
- Lifestyle
- Options
- What you get and shipping confidence
Do that consistently, across every listing, and your shop starts to feel trustworthy. Which is the whole battle on Etsy.
If you want the faster route for mockups + listings + SEO (without juggling five tools and a spreadsheet), take a look at NinjaSell. It’s built for POD Etsy sellers who want to publish more, and publish smarter.
FAQs (Frequently Asked Questions)
Why are photos so important when selling print on demand products on Etsy?
On Etsy, shoppers often judge products quickly based on small images rather than reading titles or tags. For print on demand sellers, your photos essentially are your product. Showing your design clearly and attractively is crucial because it influences buyer trust and conversion more than most sellers realize.
What types of photos should I include in my Etsy listing to increase sales?
A winning photo set includes specific shot types that answer key buyer questions: 1) The Thumb-Stopper Hero Shot to clearly show the design; 2) An Angle or Alternate View to prove the product is real; 3) A Scale Shot to show size; 4) A Detail Close-Up to highlight texture and quality; plus shots that explain what’s in the package and build trust with the seller.
How can I make my first (hero) image effective on Etsy?
Your hero shot should be simple, high contrast, instantly readable, and clearly display your design. Frame it tightly so it pops especially on mobile devices. Avoid complicated angles, heavy shadows, or lifestyle shots where the design is obscured. If buyers can’t tell what the product is within one second, redo the photo.
Why is showing scale in product photos important for Etsy listings?
Buyers often struggle to imagine product size, leading to mismatched expectations and returns. Including a scale shot—like a mug in a hand or a poster next to furniture—helps customers understand actual dimensions. Adding clean graphics with size info (e.g., “Shown: Unisex L”) further clarifies sizing.
What are some quick standards for creating high-quality Etsy product photos?
Use crisp, bright images with your product filling the frame. Maintain consistent lighting and vibe across all photos. Export images in high quality since Etsy compresses uploads. Square-ish crops work best for thumbnails displayed in grids. When using mockups, choose ones resembling typical Etsy style rather than corporate catalogs.
How do detail close-up shots help boost buyer confidence on Etsy?
Detail close-ups reduce buyer hesitation by showcasing fabric texture, print sharpness, stitching quality, and material feel. For print on demand items, highlighting clean design edges and good print resolution reassures customers about product quality before purchase.